Bookshelf Door
Visually declutter your bookshelf by turning a piece of art into a door.
Materials:
2 1in Narrow Utility Hinges
4 1 1/2in Flat Corner Brackets
1 Roll of 2 1/2in Wood Grain Repair Tape
1 1x2x8 Primed Finger Joint Board
Medium of your choice to fill in the space in the middle of the frame
1 Cabinet Magnet Latch
Tools:
Miter Saw or miter box
Drill
Screw Driver
Staple Gun
Measuring Tape
Instructions:
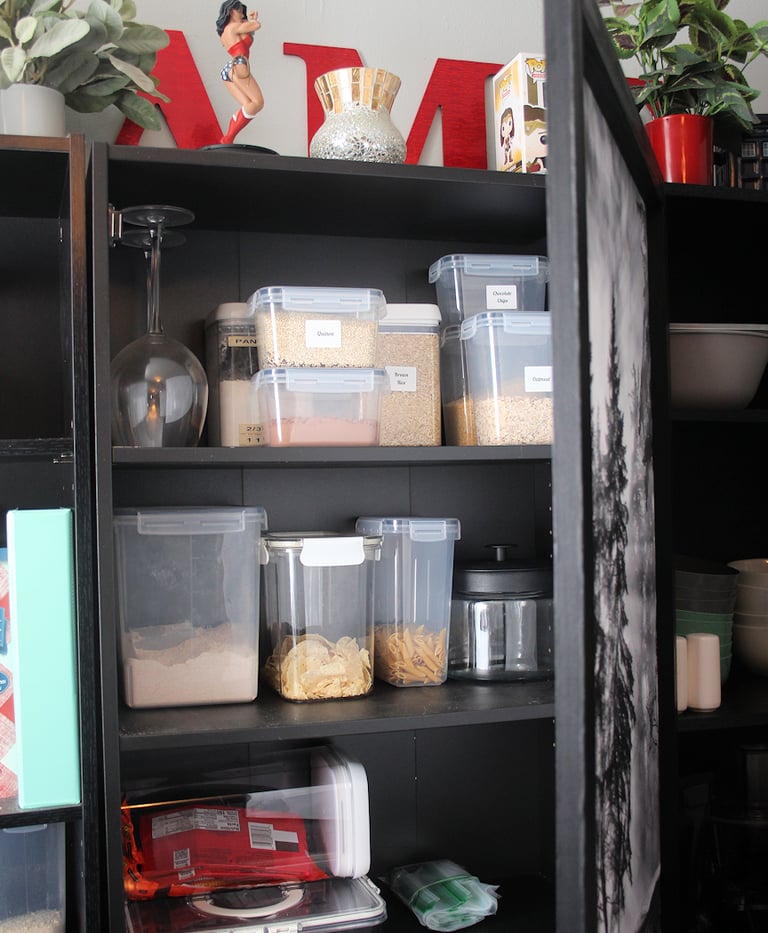
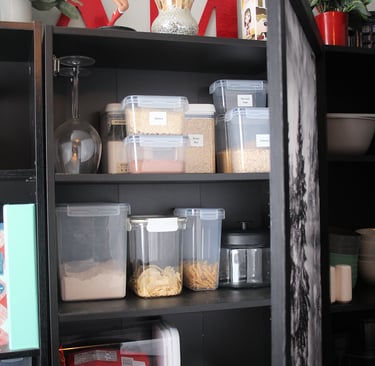
Use the tape measure to measure the opening you want the door to cover. For me I wanted to cover 3 of the 6 shelves since my dining room table is up against the bookshelves.
If you are using an electric miter saw, set it to cut 45 degrees. If you are using a manual miter box with a handheld saw, skip this step.
Mark your measurements on your Finger Joint Board and make your cuts. Remember to measure twice and cut once.
Lay out your pieces to create the frame and make sure all the corners line up.
Before attaching anything use the Wood Grain Repair Tape to cover all 4 strips of Primed Finger Joint Board.
Put the boards back in to place creating a frame.
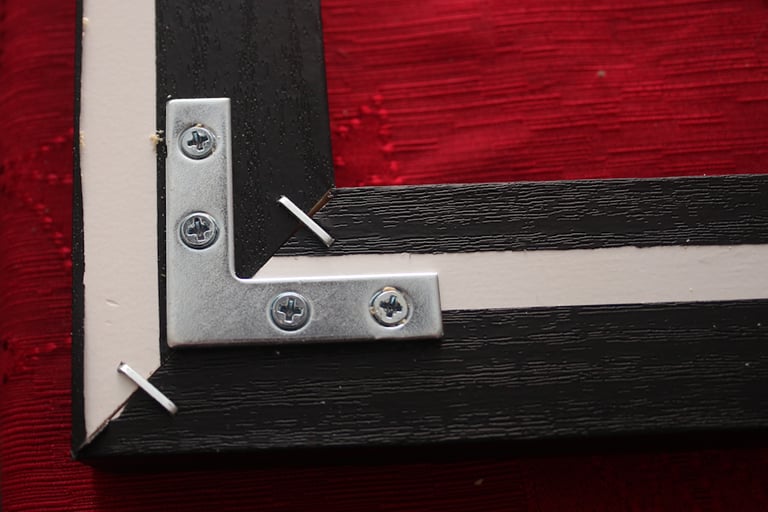
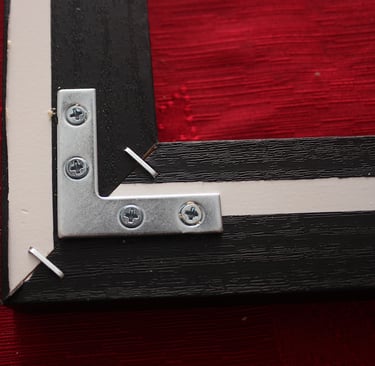
Staple the corners to keep everything in place.
Use the bracket to mark where your holes should be and predrill the holes.
Attach the brackets using the screws that came with the bracket.
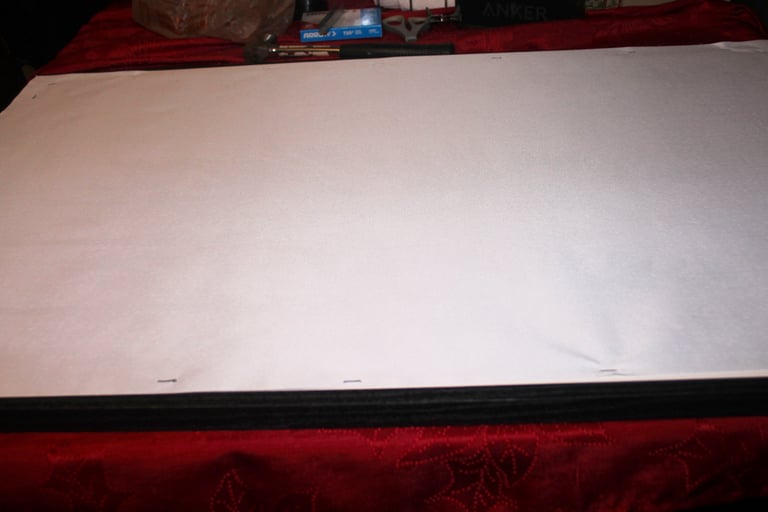
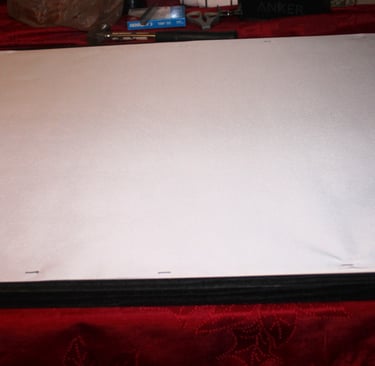
Stretch the medium over the center to cover the opening. I ordered a printed canvas off temu so the cabinet door would look like a piece of hanging art instead of a door.
Stretch and staple the medium to the back of the frame.
On one side mark 3" from the top and bottom for the hinges.
Predrill the holes and attach the hinges to the back of the frame.
You may need a second set of hands to place the door where you want it to be attached on the bookshelf. Pre drill your holes and attach the hinges to the bookshelf.
Attach the cabinet magnet latch to the bookshelf. Make sure it is far enough out that the magnet will make a connection once it's attached to the door.
Attach the magnet to the door.
Optional: If you'd like you could add a knob or handle to the door. For my project I chose not to. The point was to make the door look like a piece of artwork and hide the shelves behind.
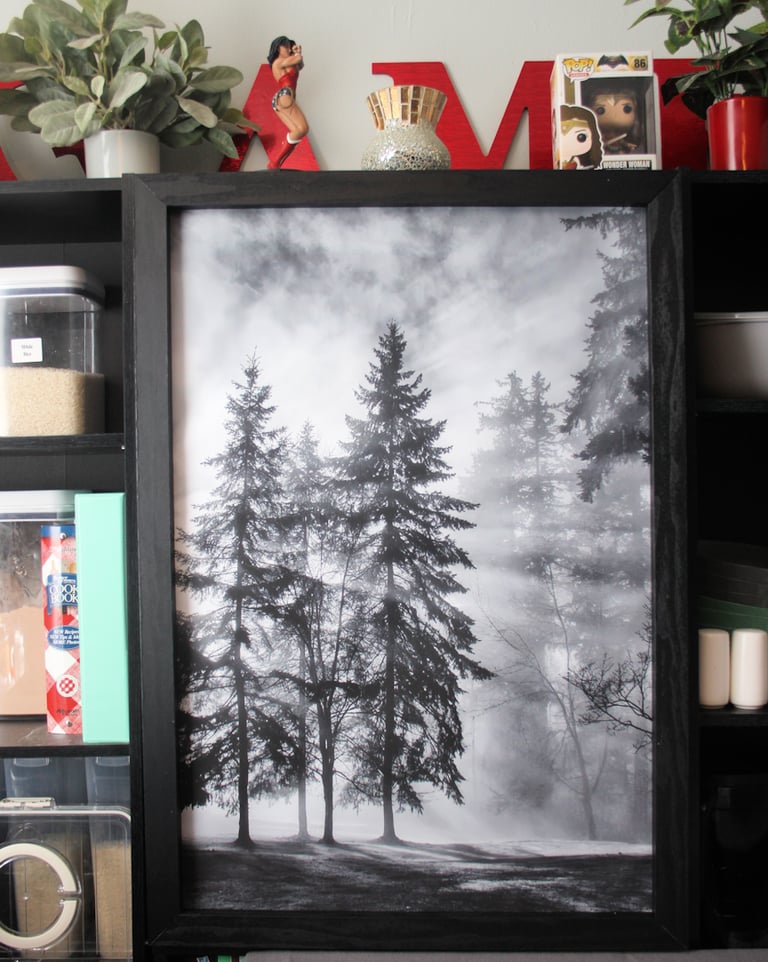
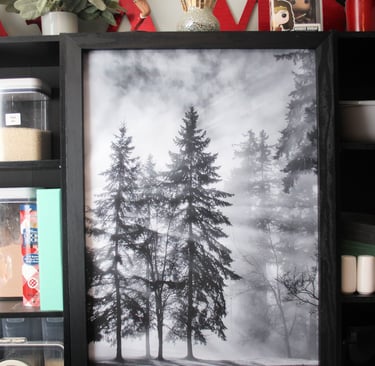
Here is the final result:
It's not perfect but it will serve its purpose to help hide some of the clutter of apartment living with limited space!