Dog Bandanas
DIY PROJECTS
4/25/20262 min read
Materials:
Fabric
1/2" double fold Bias tape
Snap grommets for clothing
Equipment:
Sewing Machine
Pins
Scissors
Grommet Tool
Iron
Measuring Tape or some sort of measuring instrument
Instructions:
Iron your fabric to get out any wrinkles and folds.
For my template I used the following measurements:
For Ava (the corgi): 8" across the top, 2" down the side, then 4" on an angle.
For Missy (the shichon): 4" across the top, 1" down the side, then 2" on an angle.
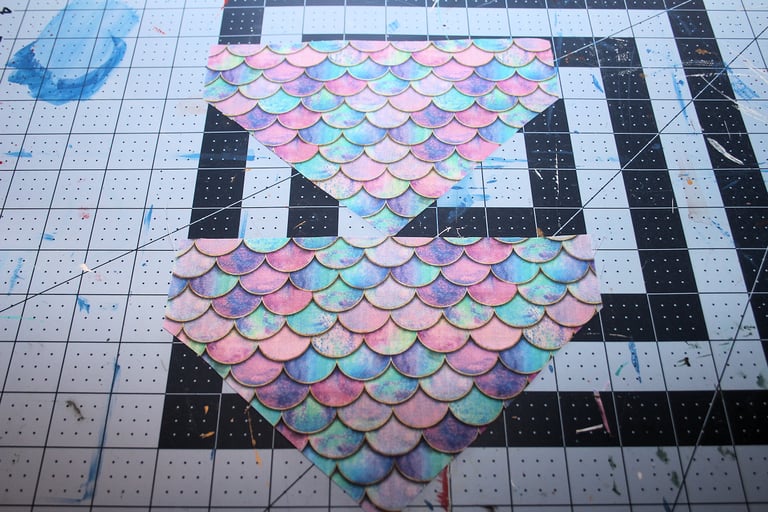
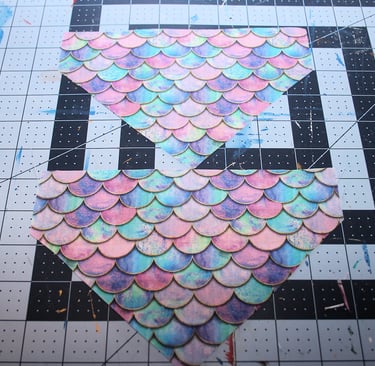
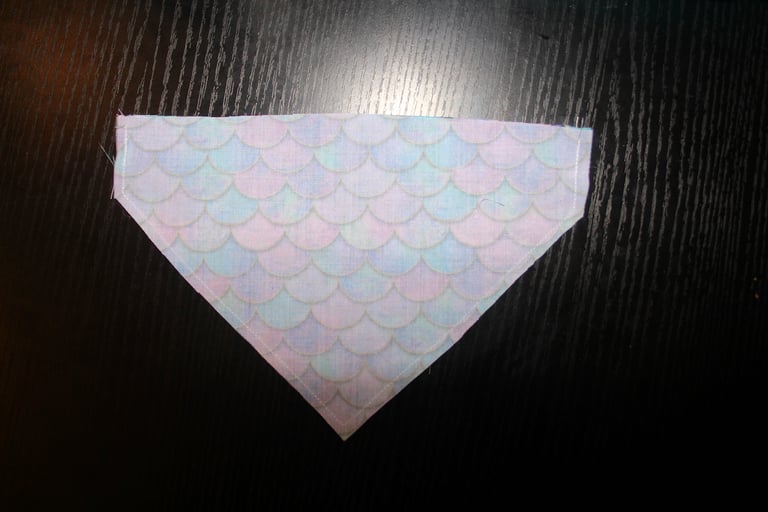
For each bandana I cut out 2 of my template. 1 for the front and 1 for the back.
If your fabric is printed you're going to put the two pieces together with the print on the inside for both pieces.
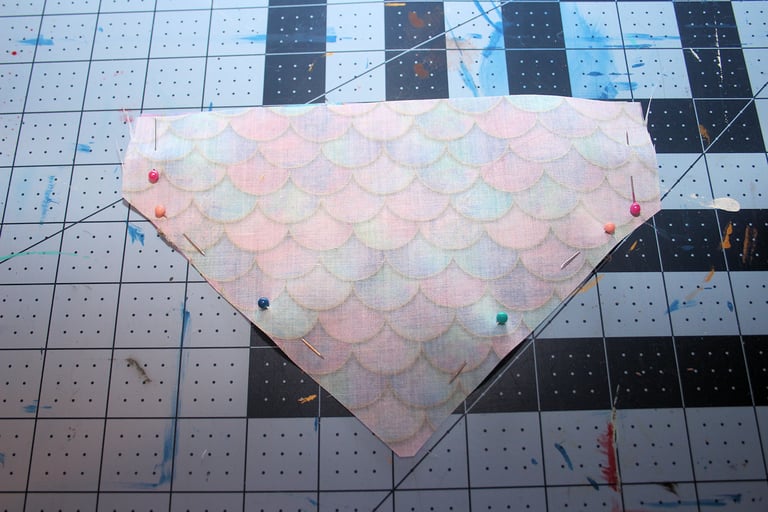
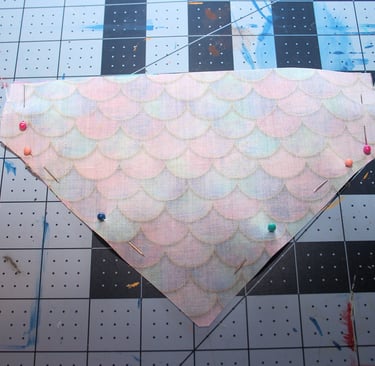
Pin both pieces together to keep the fabric from moving.
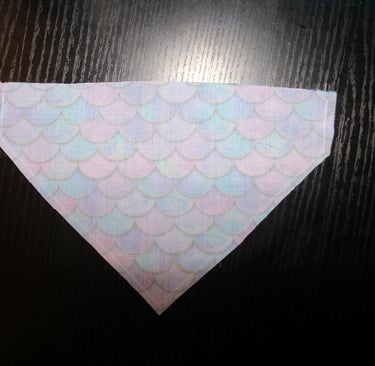
Sew all sides but the top.
Flip right side out.
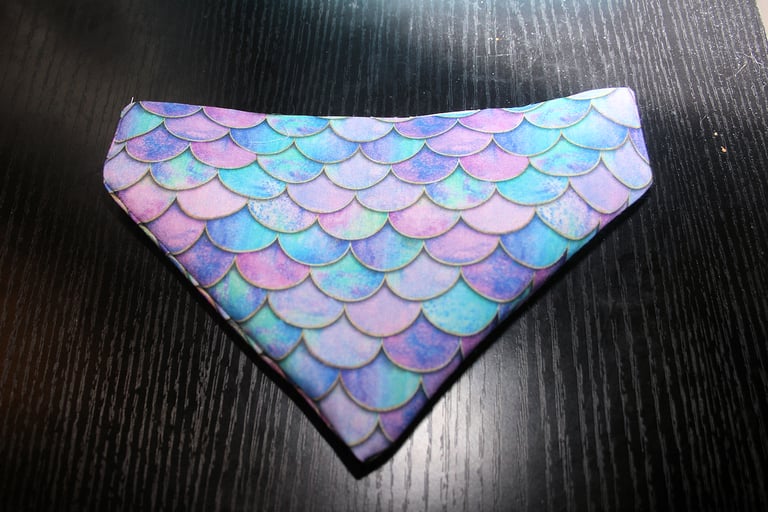
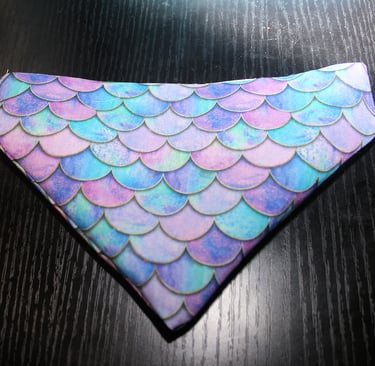
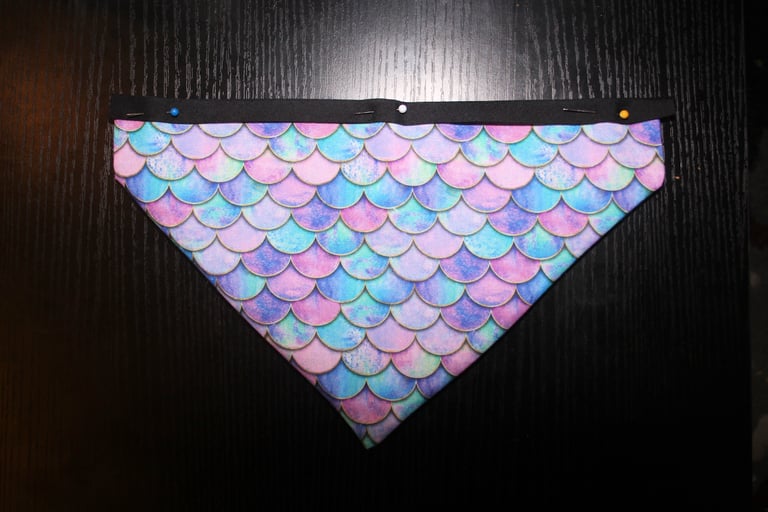
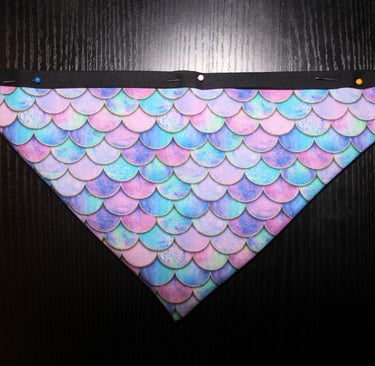
Cut a piece of bias tape to fit along the top and pin it into place with the unsewn edges of the bandana inside the fold of the bias.
Sew the bias tape into place.
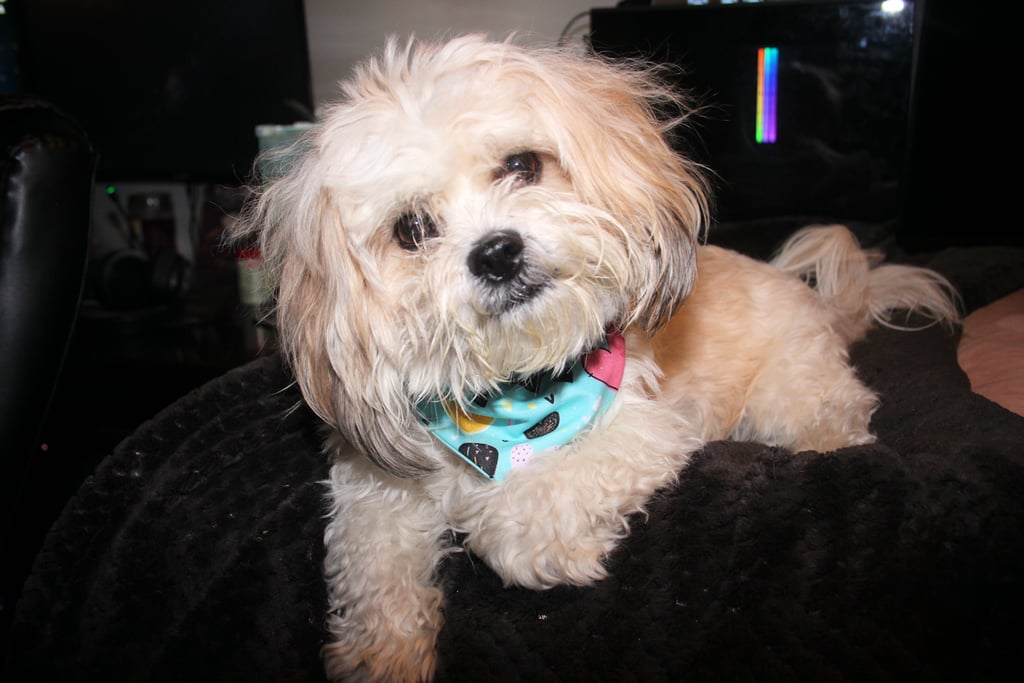
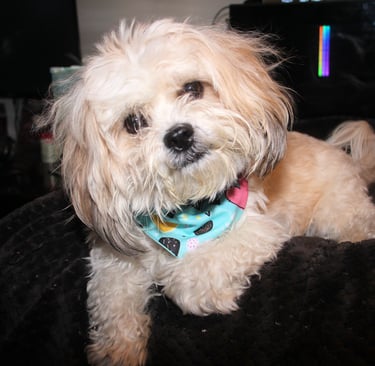
Add one half of the snap grommets to the top corners of the bandana.
Use bias tape to make a loop around the collar.
Attach a full set of snaps (one half at each end) so when snapped together it makes a loop.
In the middle of the loop add the other half of the snap for the bandana.
The idea here is to make loops that go on the collar that you can snap the bandana to. Making these easily interchangeable. If you have dogs like mine simply tying a bandana on just doesn't cut it. Putting one over the collar often causes issues with either the buckle, the D ring where the leash attaches, and/or the dog tag. For me, this solved that problem.